Fitting Instructions Guide
The fitting instructions are intended as a guide and you may decide after reading them to fit the floor seal in accordance with your own ideas.
The Weather Defender® is a versatile Garage Door Floor Seal that can be fitted to Up and Over, Sectional, Roller (Shutter) and Side Hinged Garage Doors, whether they be Manual or Automatic.
NOTE: When fitted to Automatic Doors, there is a slight chance on some installations that the down limit and or sensitivity settings may need adjusting if the door auto reverses when closing onto the floor seal. If this is so please consult your owner’s handbook, local dealer or call us for over the phone assistance.
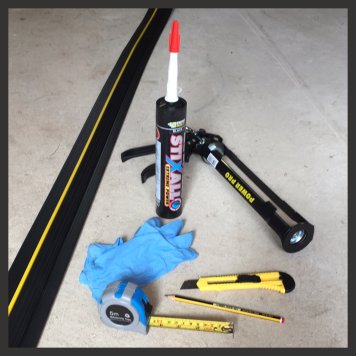
What do I need?
- Tape Measure
- Marker pen or pencil
- Sharp knife or hacksaw
- Sealant gun
- Adhesive
- Disposable gloves
TOP TIP: Lay the weather Defender out in your garage the day before so it has time to flatten, prior to install.
For the best results, we recommend that the ground is in clean, sound condition and free from dust, oil, or grease. You should abrade painted surfaces to ensure good adhesion.
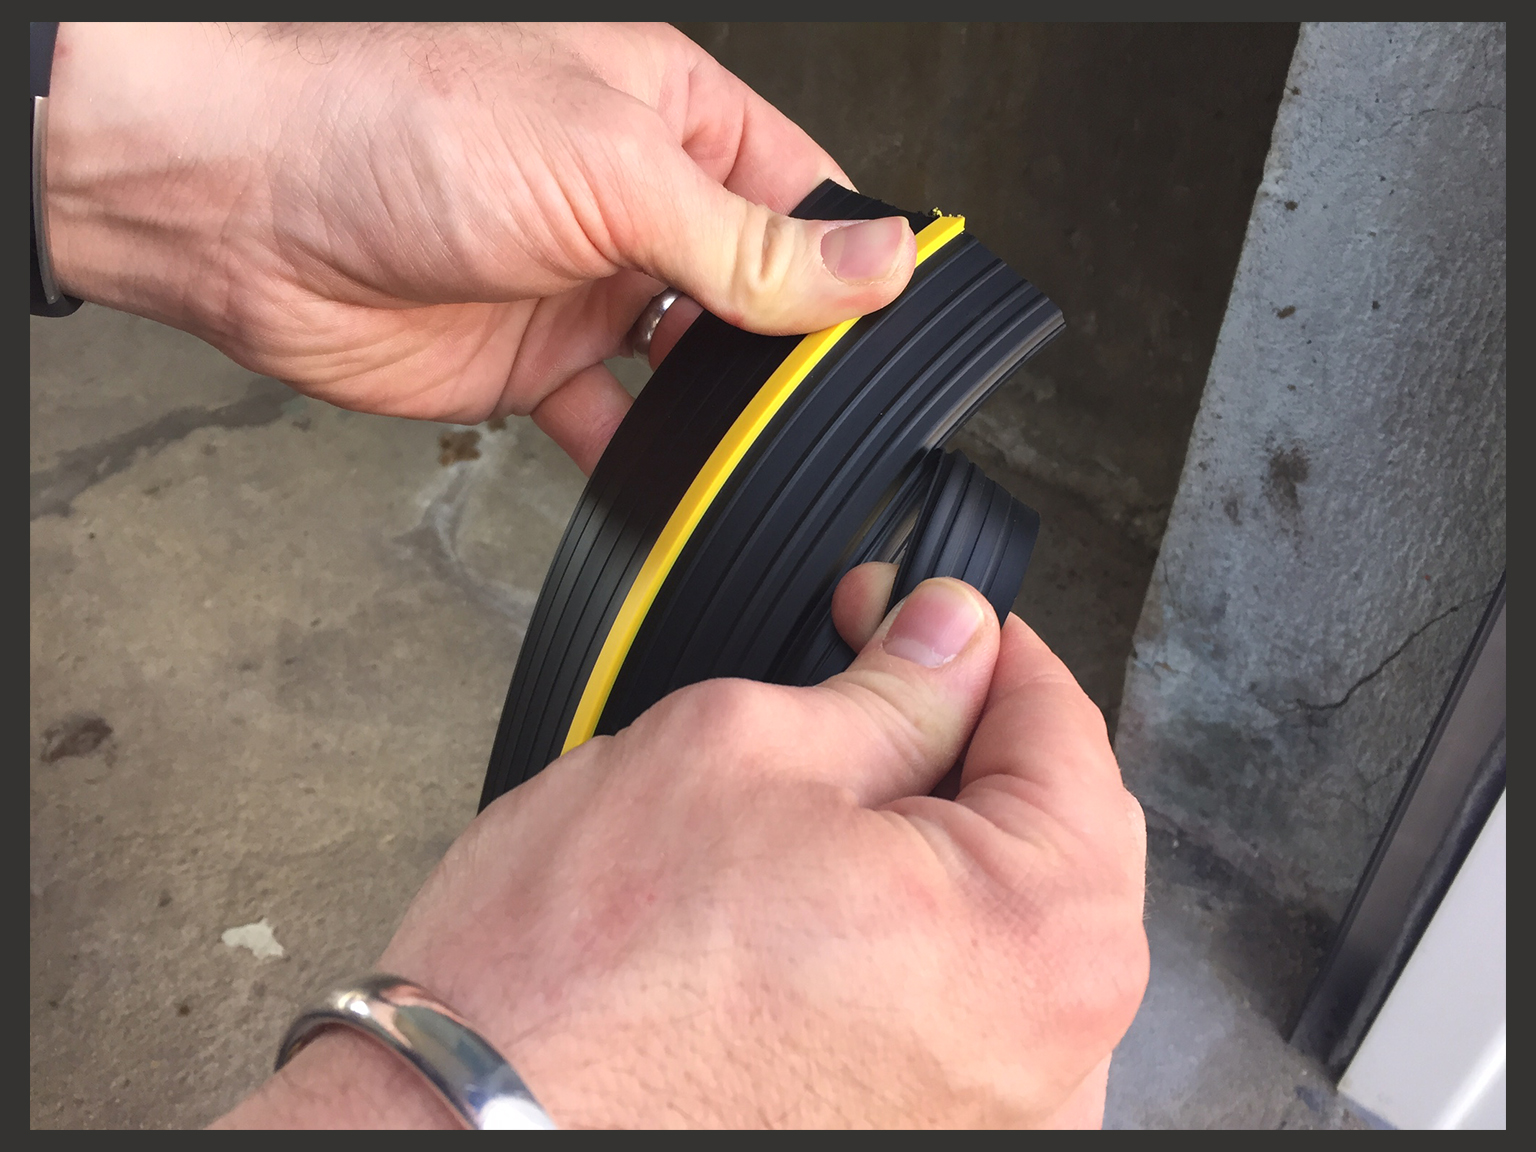
NOTE: In all installations, the tearaway strip should be facing outwards.
Please see below instructions for INSTALLATION BETWEEN THE FRAME,
scroll down for INSTALLATION BEHIND THE FRAME.
Download Installation Instructions - EN
Download Installation Instructions - FR
Download Installation Instructions - DE
Download Installation Instructions - ES
INSTALLATION BETWEEN THE FRAME

Measure opening between frame legs.

Cut the floor seal length to the required width.
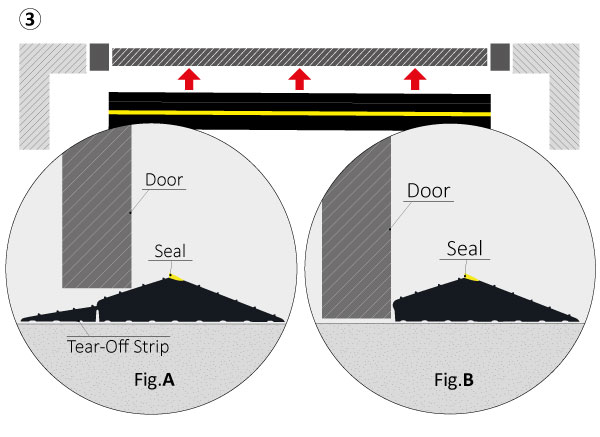
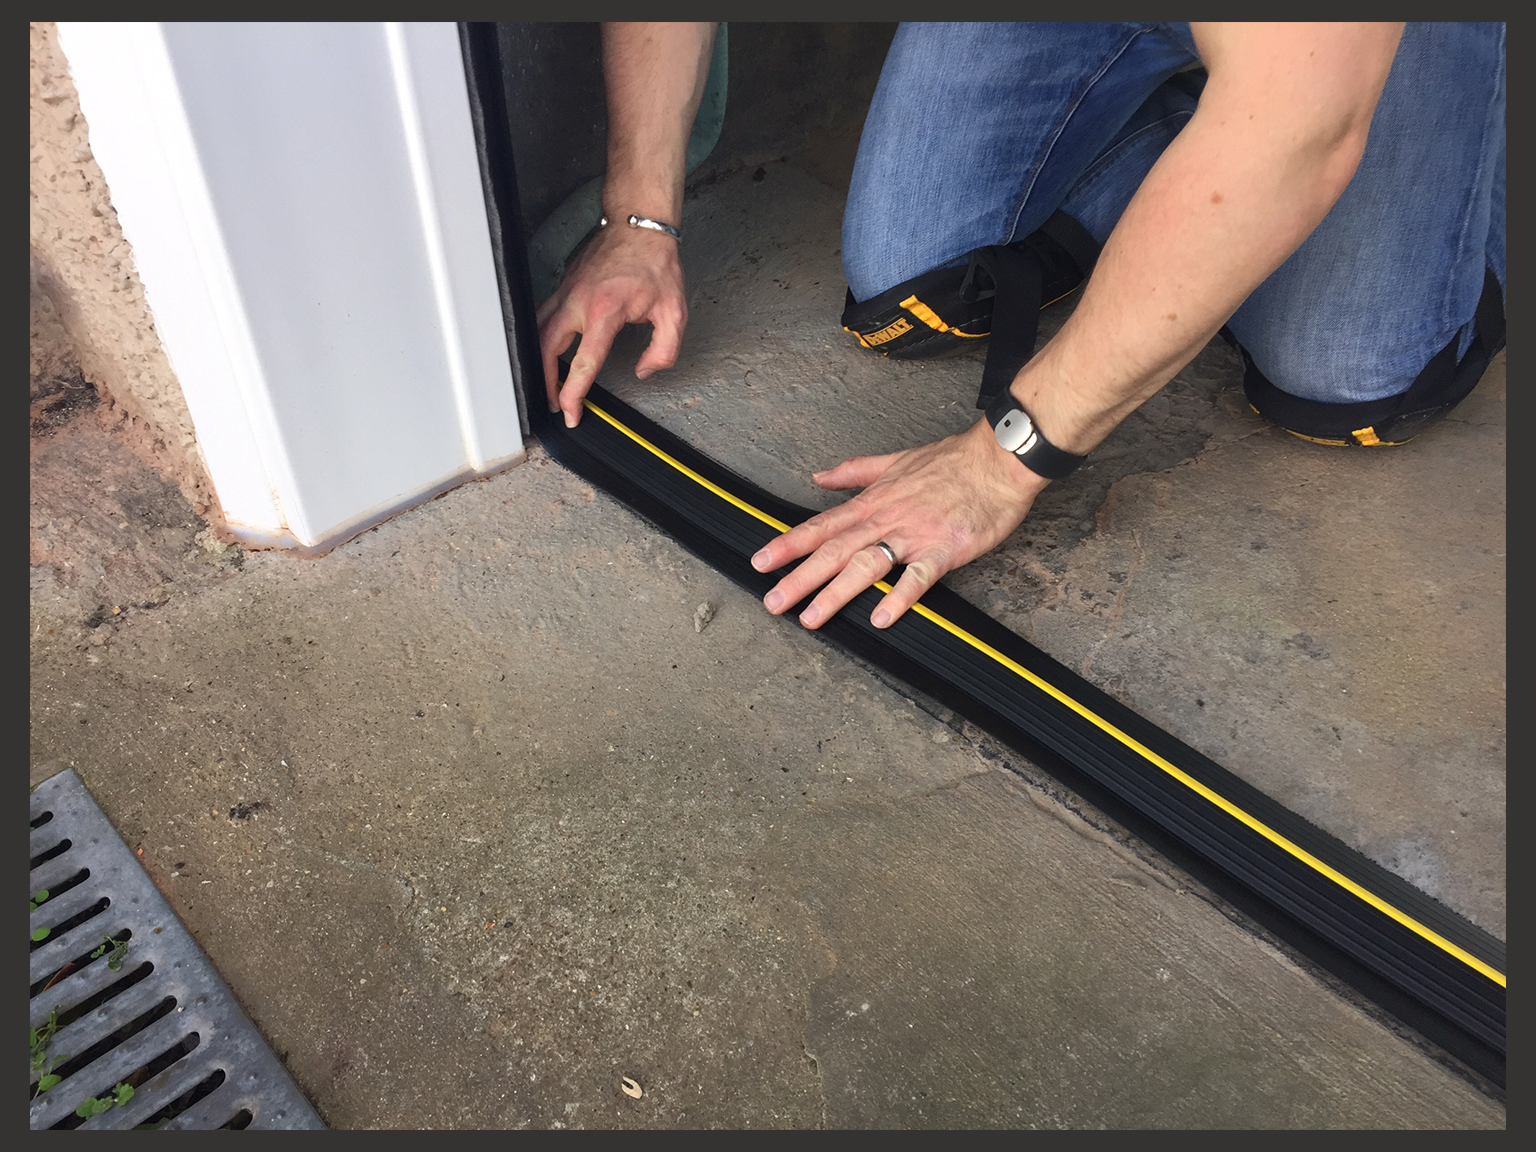
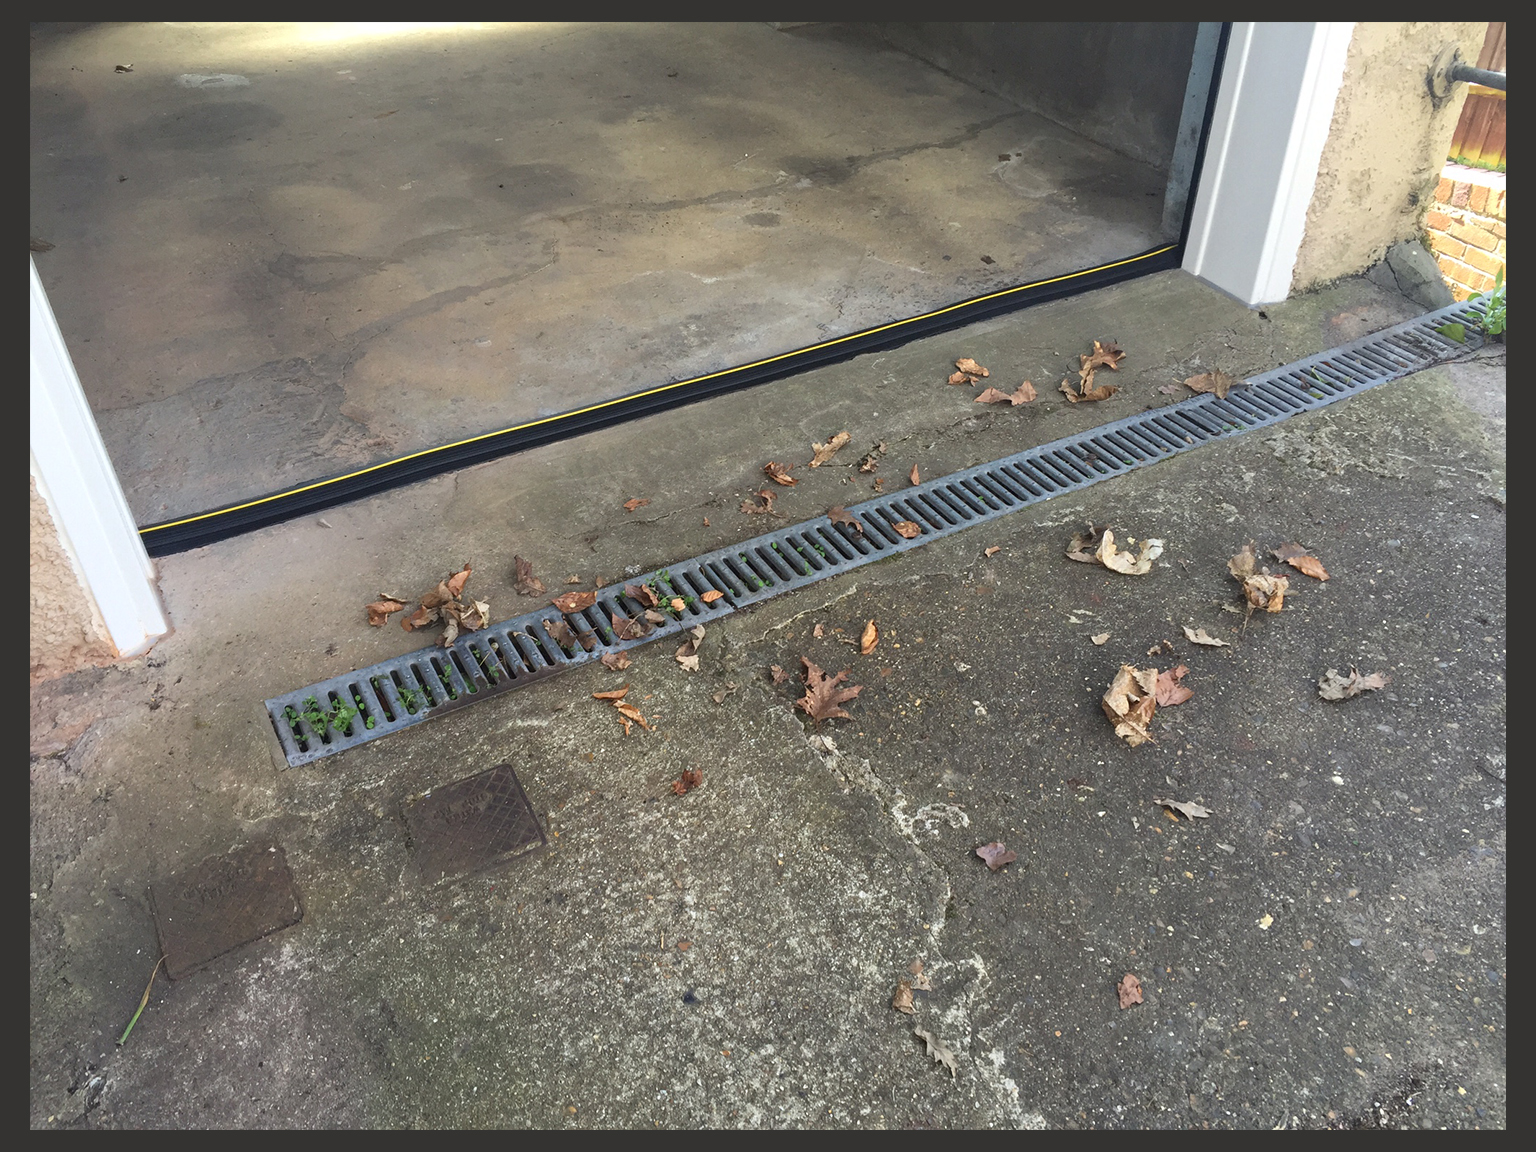
With the door closed, position the floor seal so that the raised section is touching the bottom inside edge of the door (Fig.A).
If the gap below the door is too small, tear off the front strip to create a straight edge for the door to close to (Fig.B).

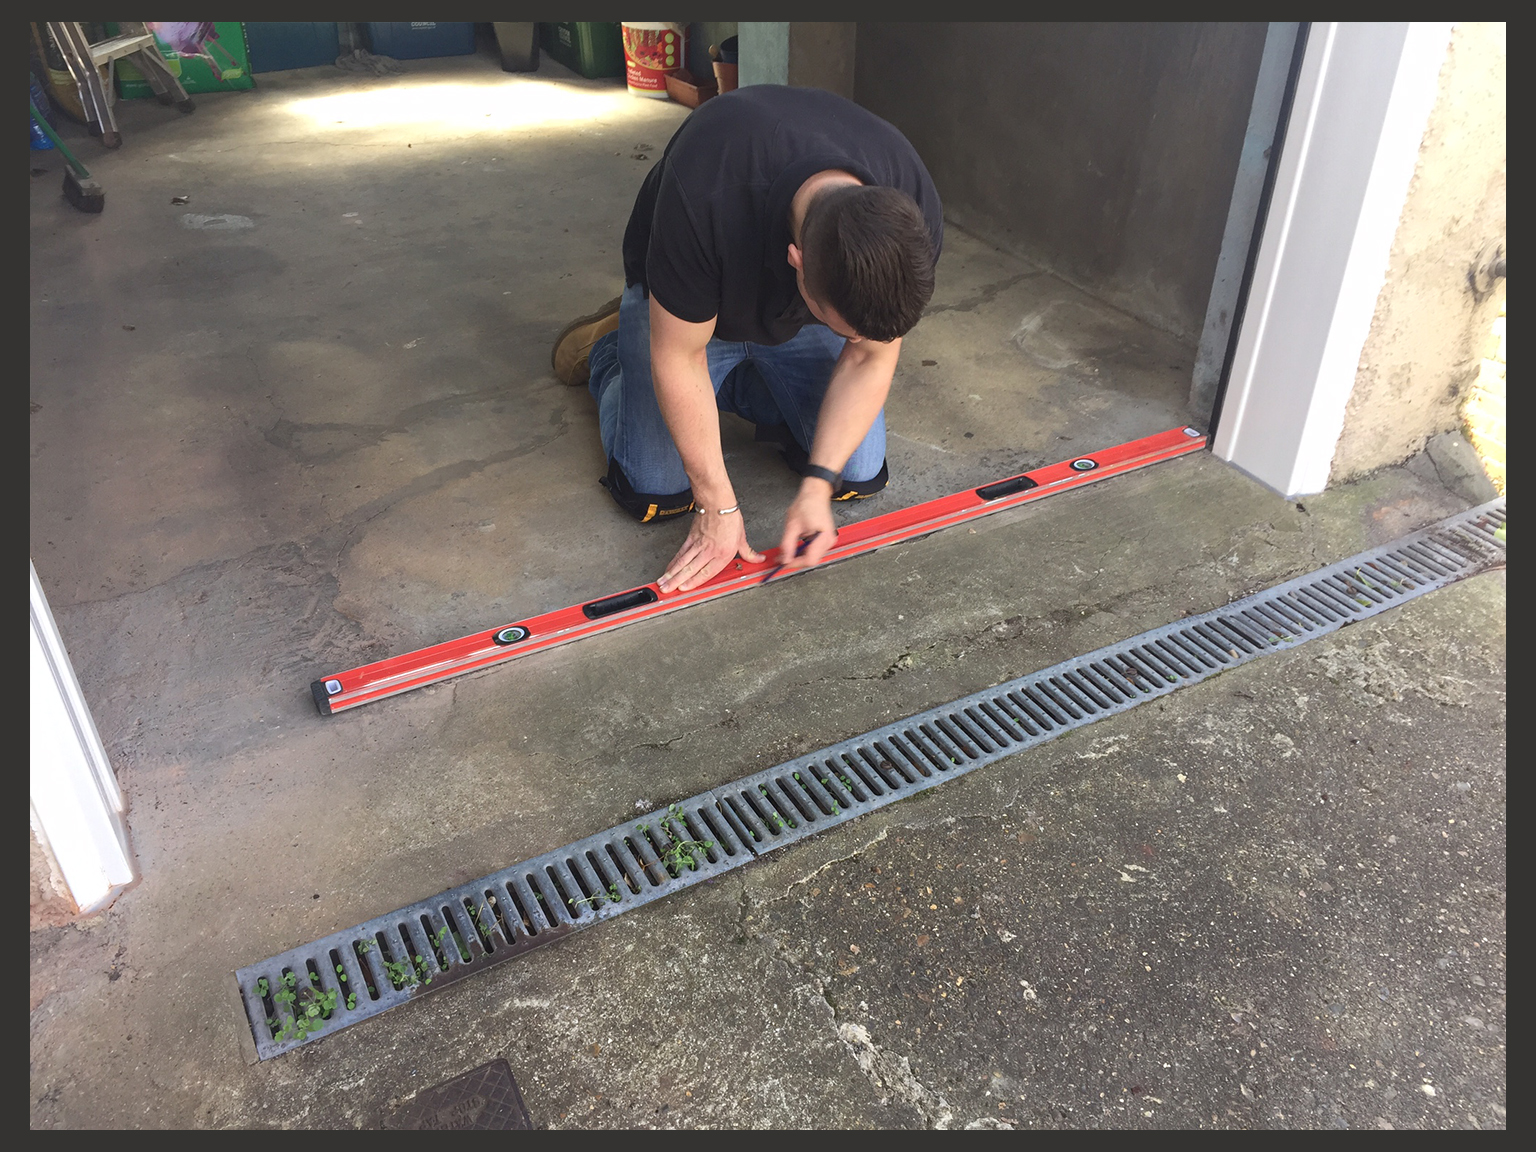
Mark along the floor at the back edge of the floor seal using a marker pen.

Open the door and mark a line along the floor at the front edge of the floor seal using the same marker pen.

Remove the floor seal…

… and mark two parallel lines roughly 10mm (7/16’’) inside the lines that you marked on the floor.


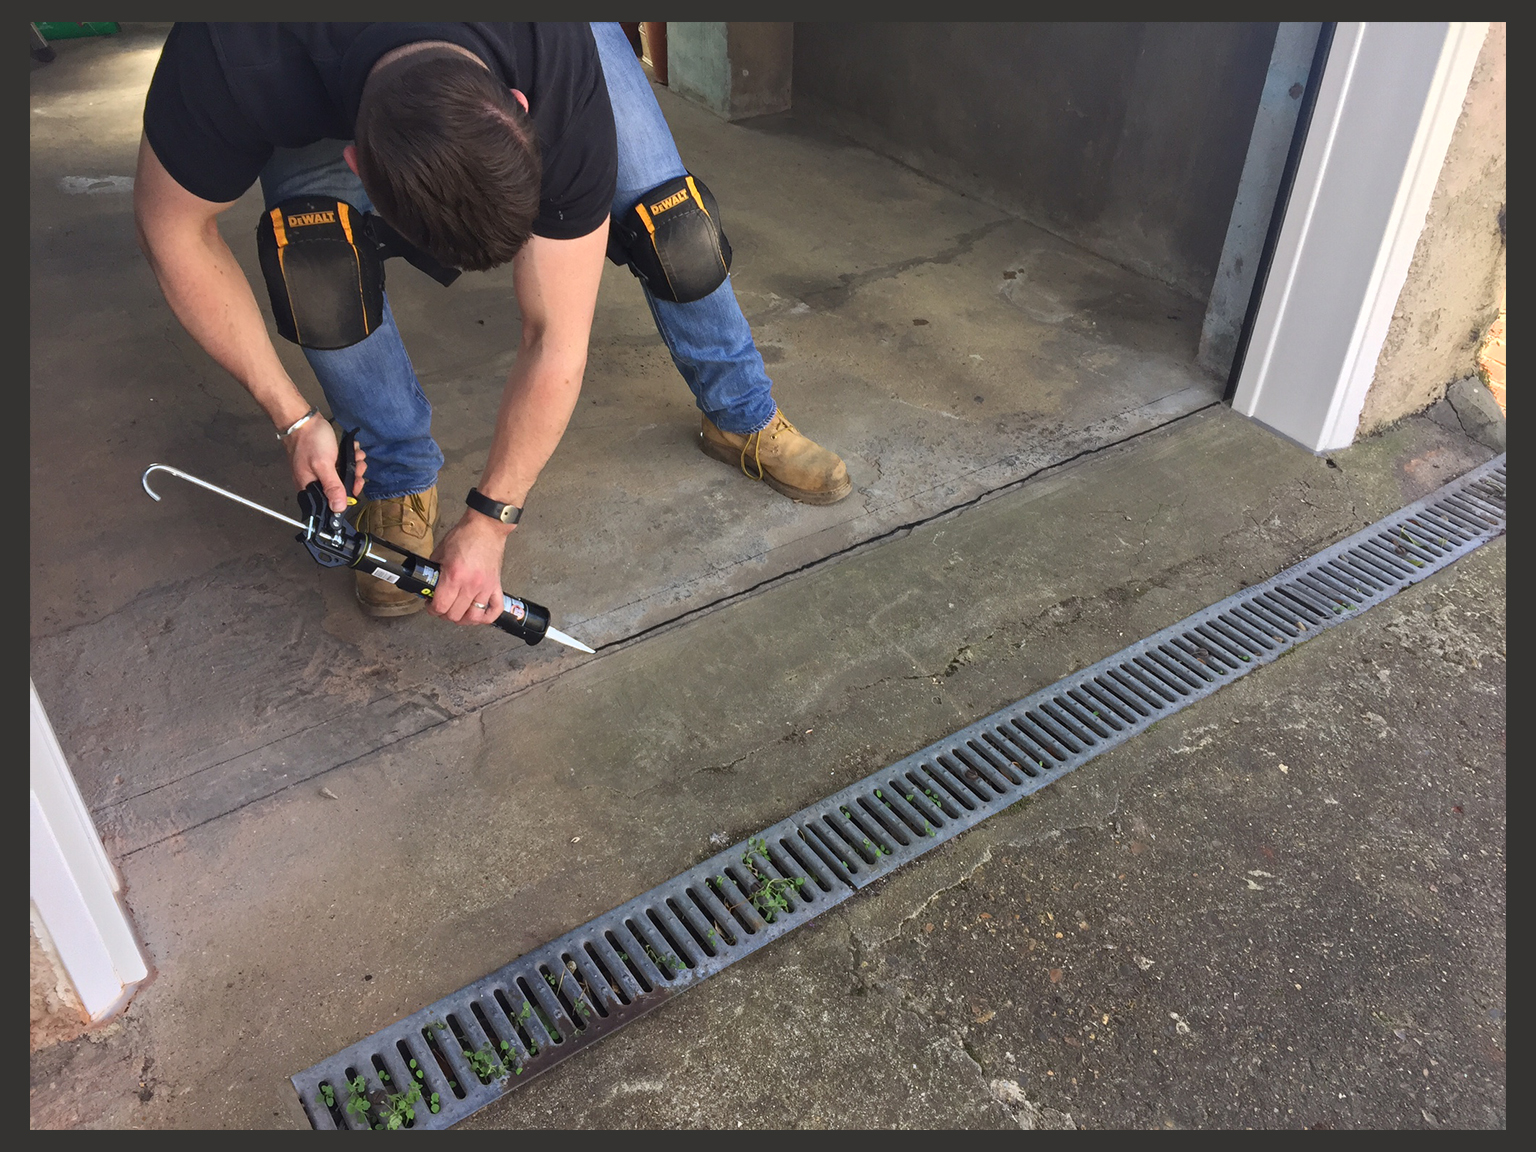
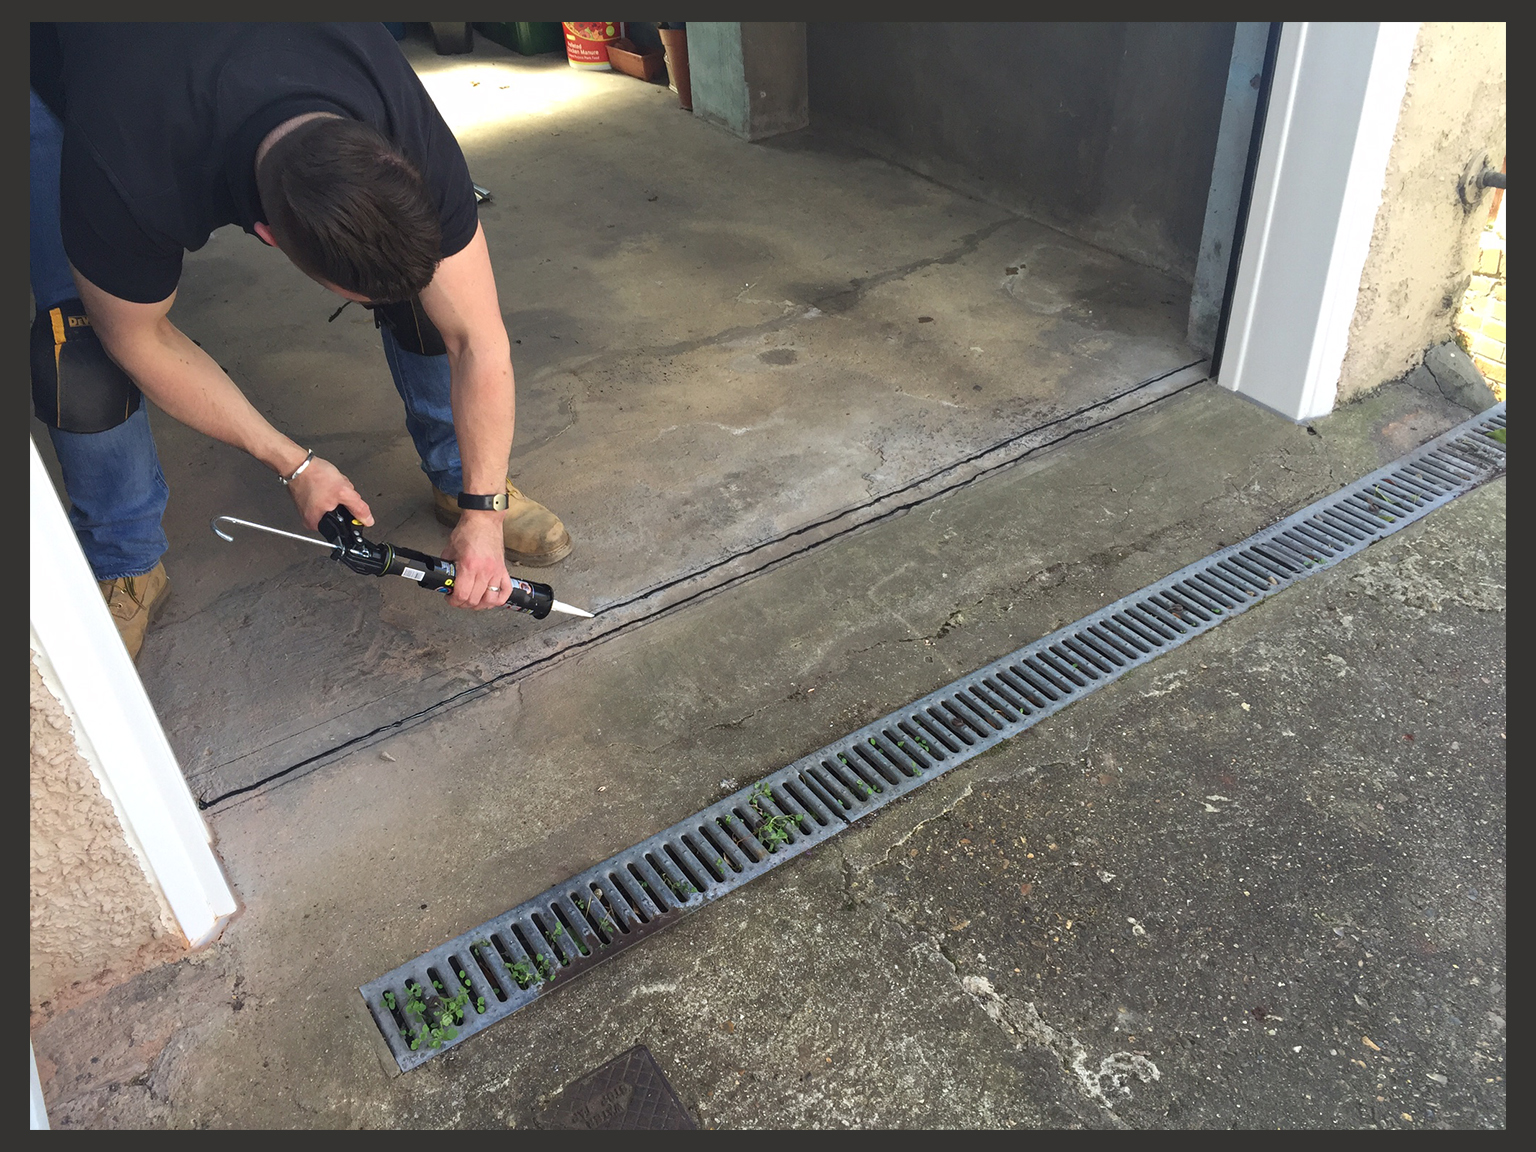
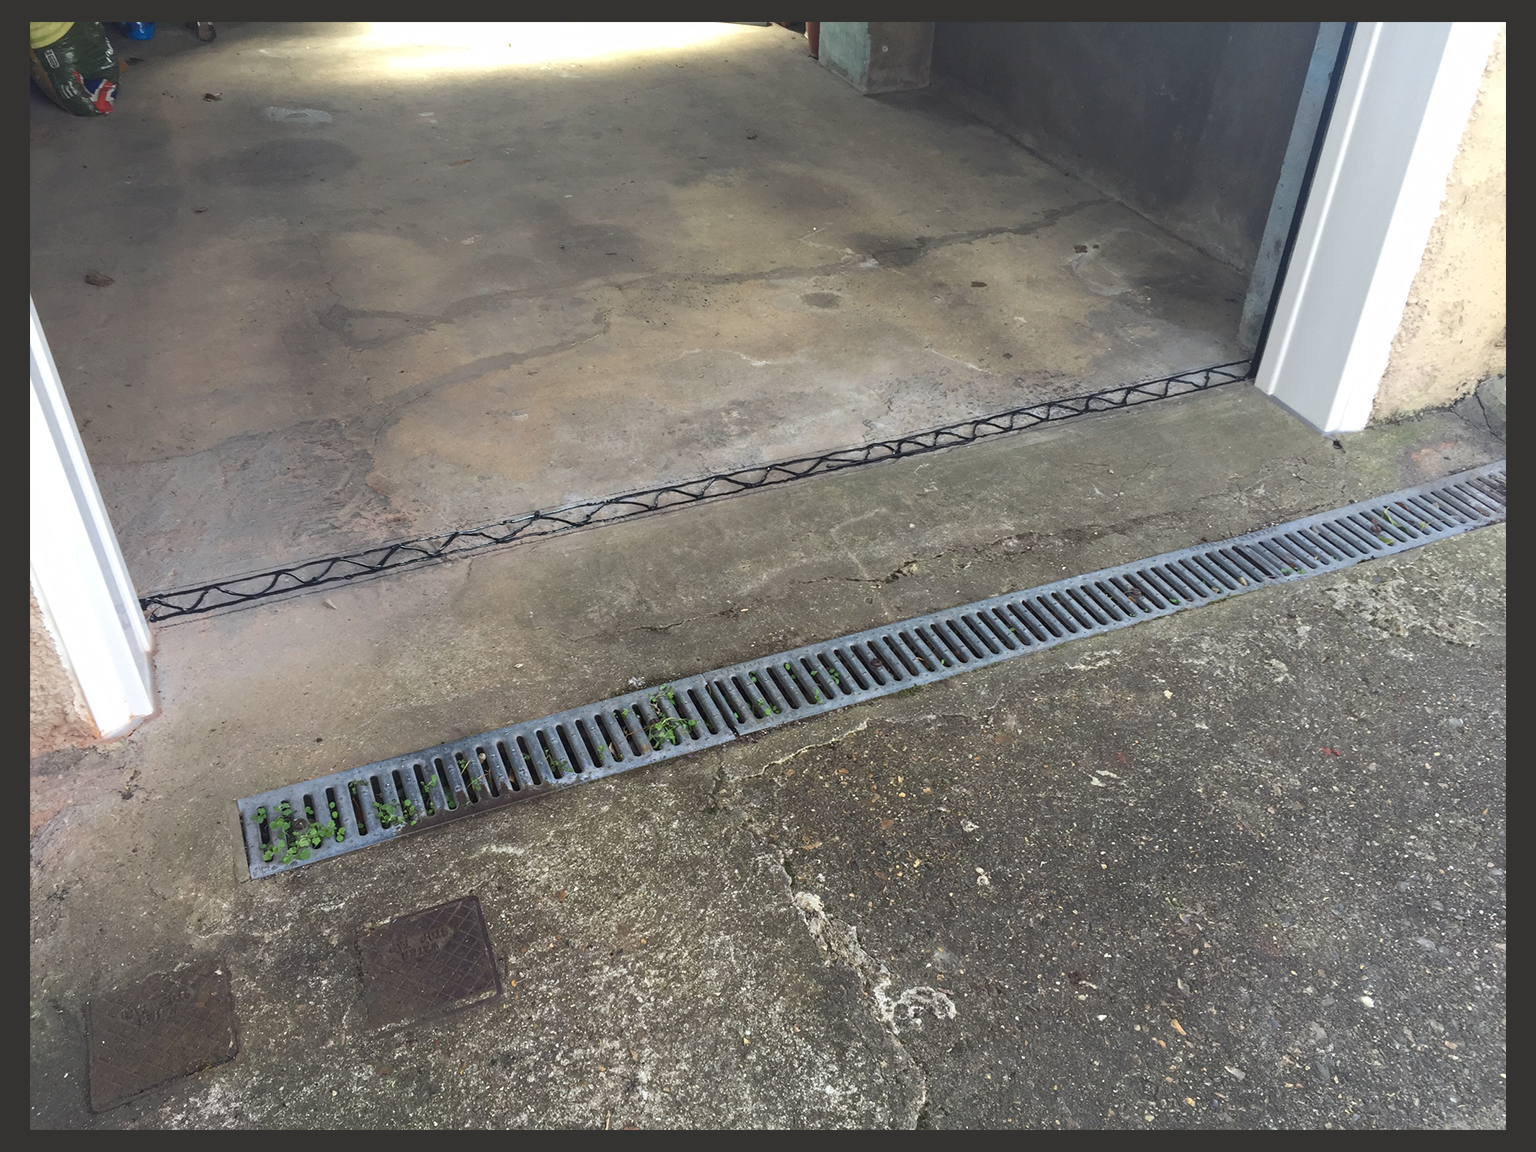
Apply the adhesive to the two inner parallel lines…


…then apply the adhesive in a zig-zag formation between the lines at roughly 3’’ spacing.


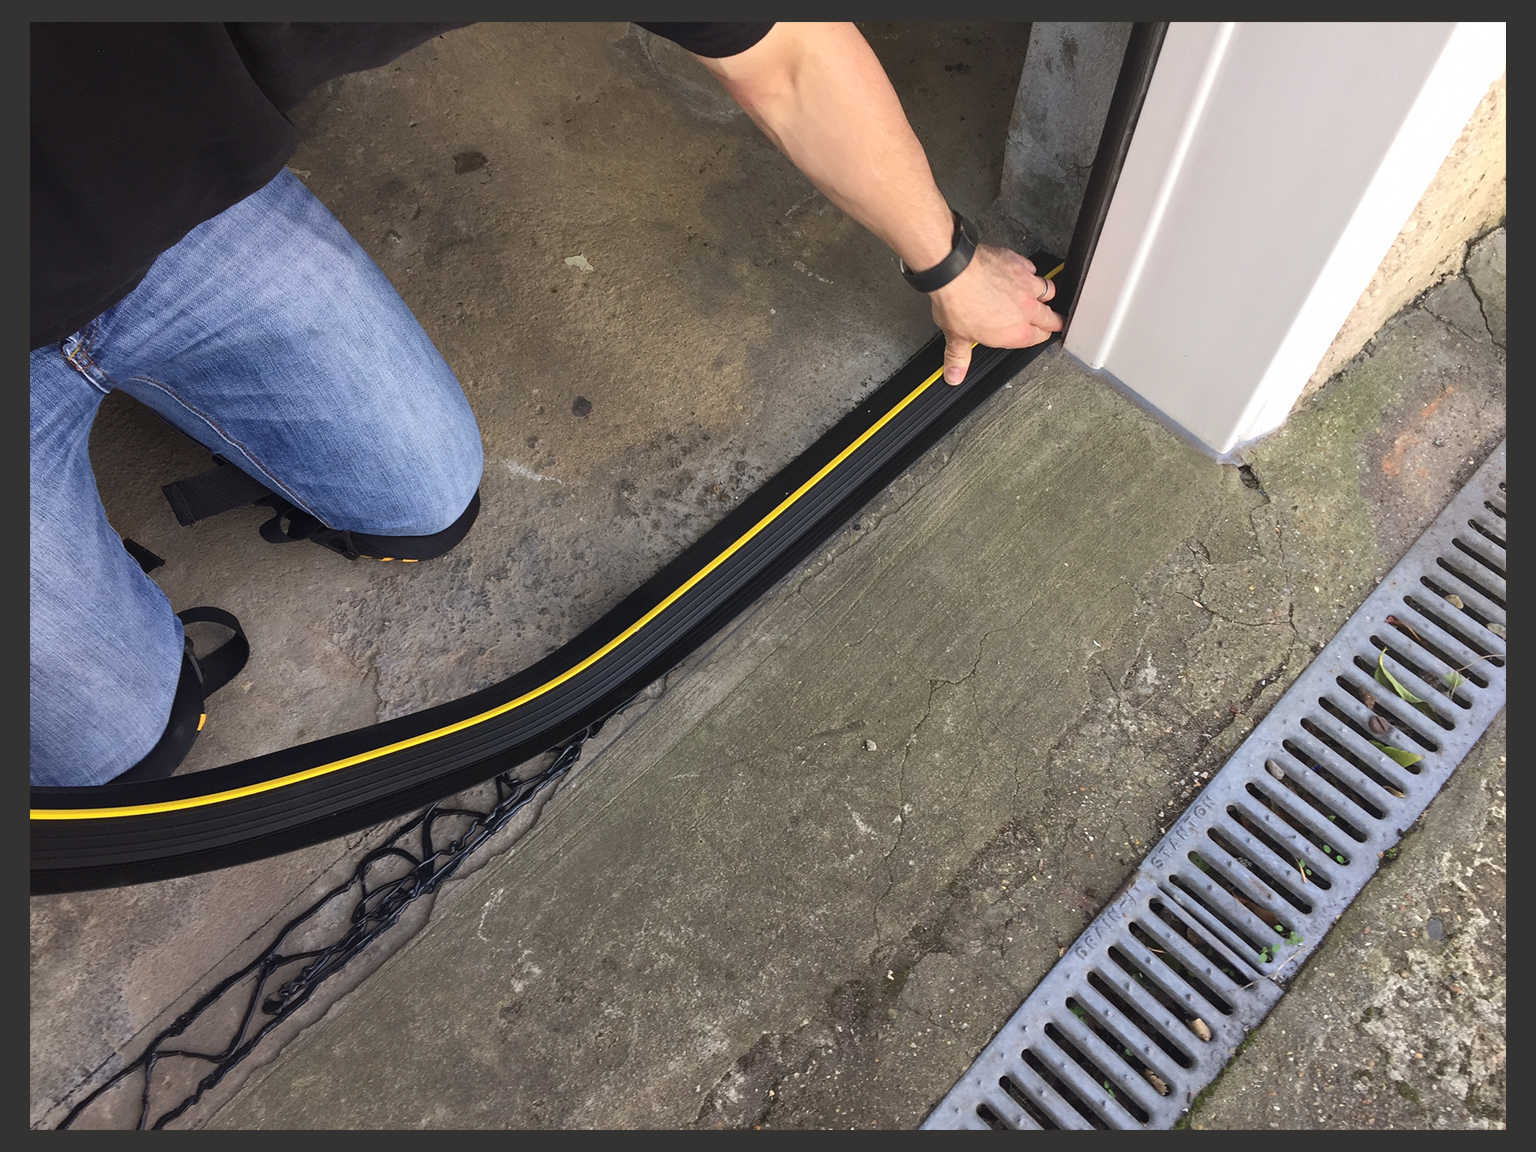
Finally, starting at one end, place the floor seal over the adhesive on the floor and press firmly downwards. Continue the same process until the entire seal has been fitted.
Cut back any exposed excess sealant once dry.
INSTALLATION BEHIND THE FRAME


Measure opening including frame legs.


Cut the floor seal length to the required width.
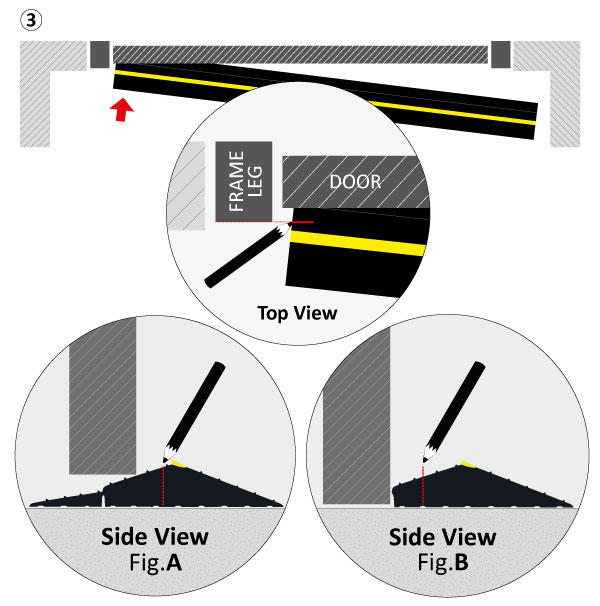

From inside the Garage, push the edge of the floor seal under the closed door and mark where the raised section meets the back of the frame (Fig.A)…
If the gap below the door is too small, tear off the front strip to create a straight edge for the door to close to (Fig.B).
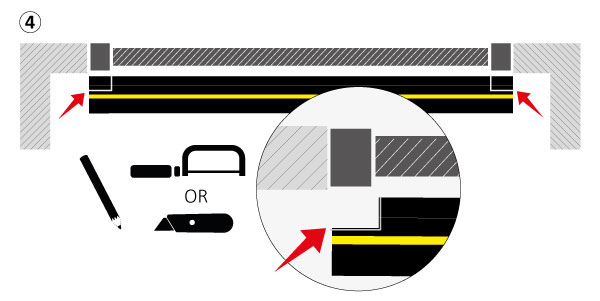

Cut the seal around the jambs, use the markings from step 3.
(the exact shape of the jambs’ profiles might differ from the drawing)


With the door closed, position the floor seal so that the raised section is touching the bottom inside edge of the door.


Mark along the floor at the back edge of the floor seal using a marker pen.


Open the door and mark a line along the floor at the front edge of the floor seal using the same marker pen.


Remove the floor seal…


… and mark two parallel lines roughly 10mm (7/16’’) inside the lines that you just marked on the floor.


Apply the adhesive to the two inner parallel lines…


…then apply the adhesive in a zig-zag formation between the lines at roughly 3’’ spacing.


Finally, starting at one end, place the floor seal over the adhesive on the floor and press firmly downwards. Continue the same process until the entire seal has been fitted.
Cut back any exposed excess sealant once dry.
Weather Defender Installation
